1
Solved Problems / Re: How can I get a battle scene properly textured in game? (FF7)
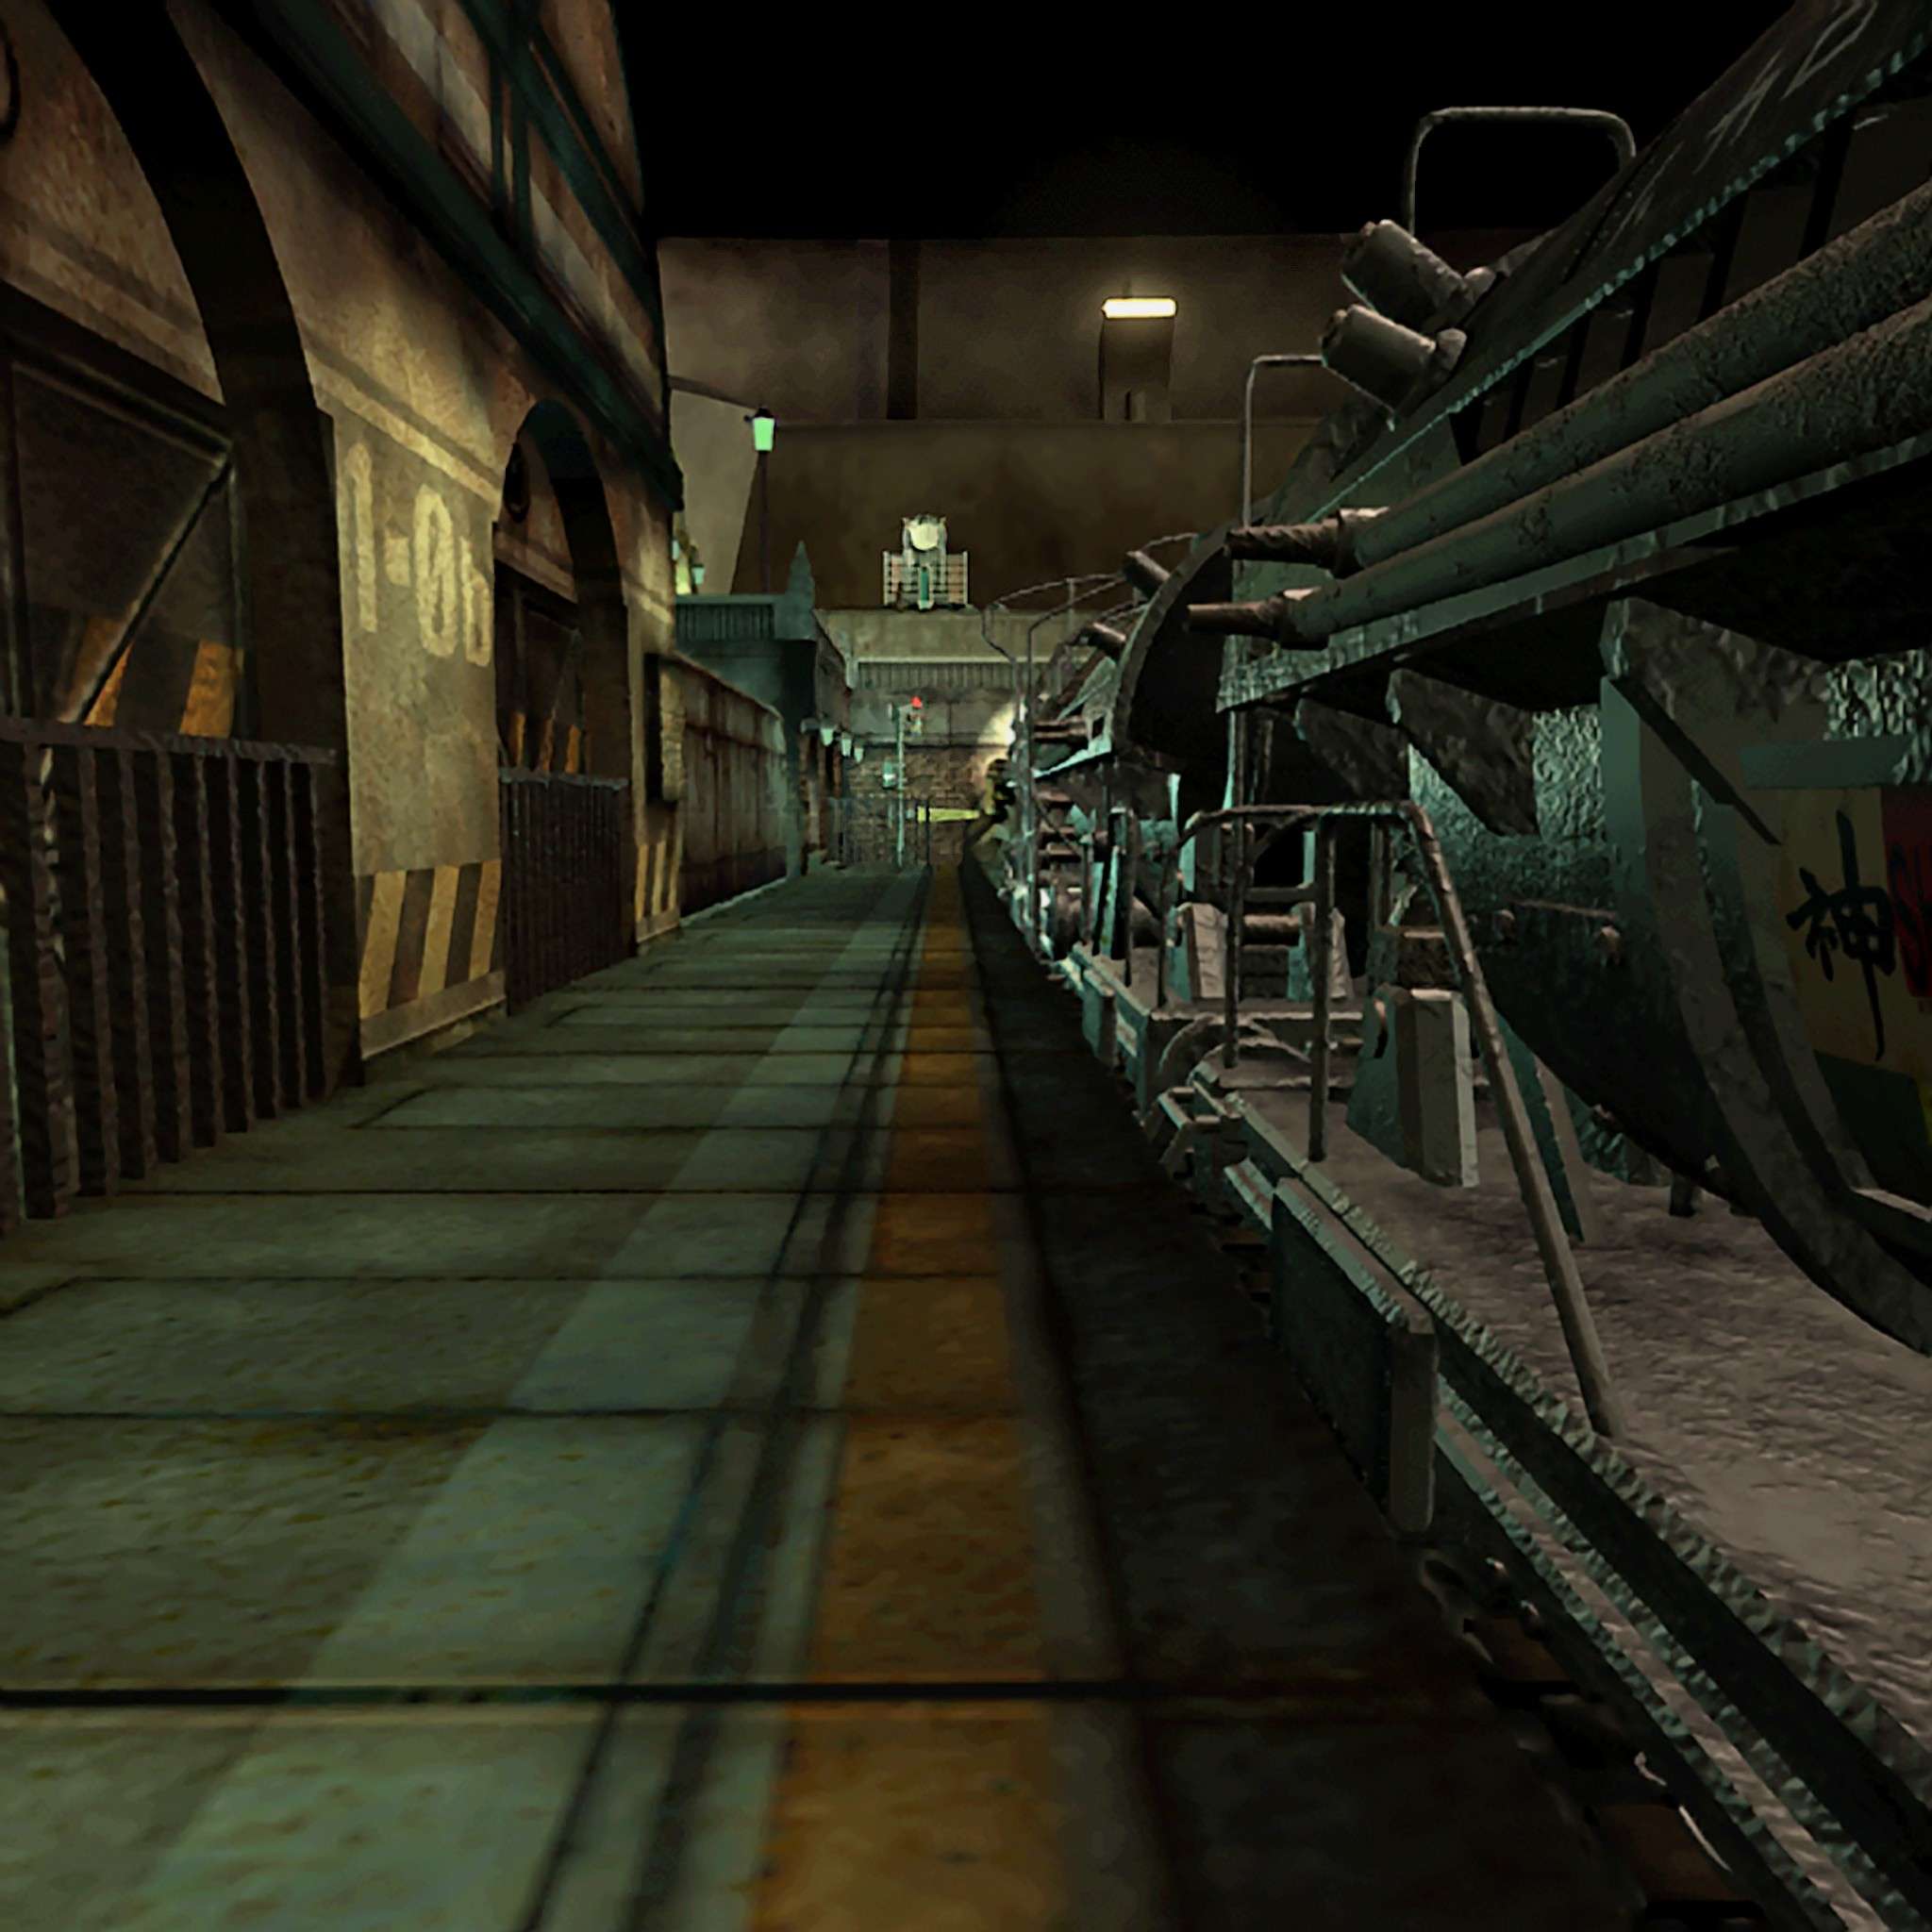
« on: 2011-03-11 20:19:10 »looking really great man. I really like the train tex your using. Did you make it from scratch?
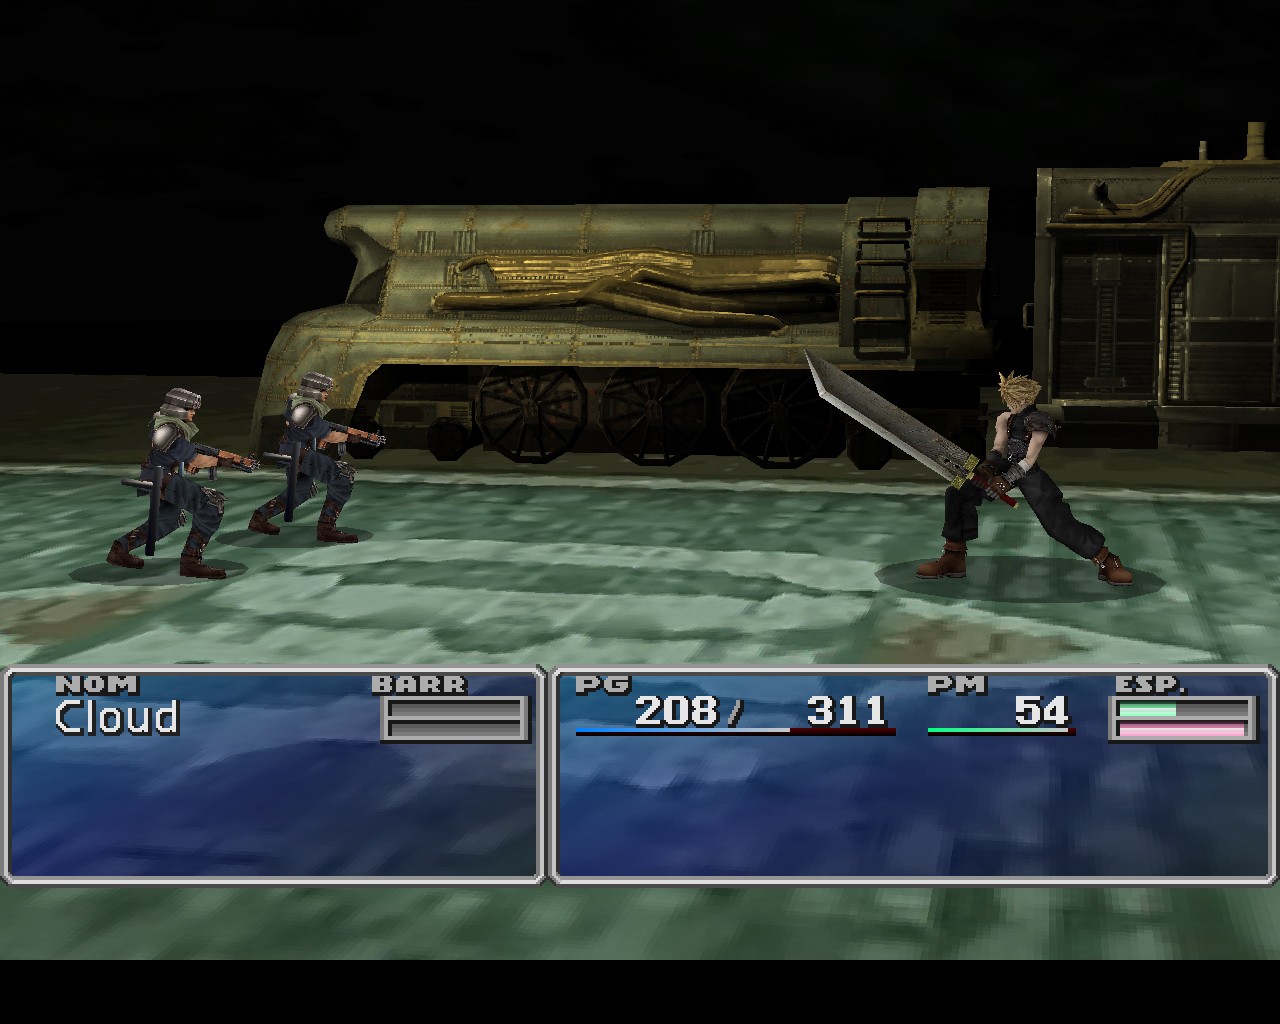
Oh no yarLson I extracted this from my Crisis Core by using Rinoa Viewer/Extractor, but I´m a 3D modeller for games so it is not so hard for me to modify/edit some parts of the models in 3DsMax. I extracted the whole train station from Crisis Core and I made my own battle scene from it (I´m only using the train here). As you can see, since there are no lights in battle scenes, I also used a light map to simulate the light effects on the train. Also when you extract models from Crisis Core with Rinoa, most textures mess up, so I had to fix the ones I was using on my scene, and of course this is not the whole train, I removed all the polygons of the hidden side of the train (the inner parts too). In short what I´m doing is remaking, repositioning and removing parts from the original stage (from Crisis Core) in 3DsMax to make my own FF7 battle scene.
Hey, in the future when you're posting pics, please try to leave out any models that were ripped from other games. Reason being there are people who will notice and begin relentlessly asking you and other members for them. And you wouldn't believe how out of hand it can get.
Ok obesebear, sure thing, you are right, I´ll leave out these models in the next images I upload.


 , except when he upload the files, but by what ppl say, they look pretty good too).
 <-not native speaker), but I will definitely follow your tips the next time I go to edit a background cos IMHO this is the best background I,ve seen so far in game. I am grateful that someone is serious about starting a project to edite/resize the old backgrounds, because although I wanted to do so, I have not much free time to do it, however you can count on me to help as I can.
 (it is too late here to read again
  )
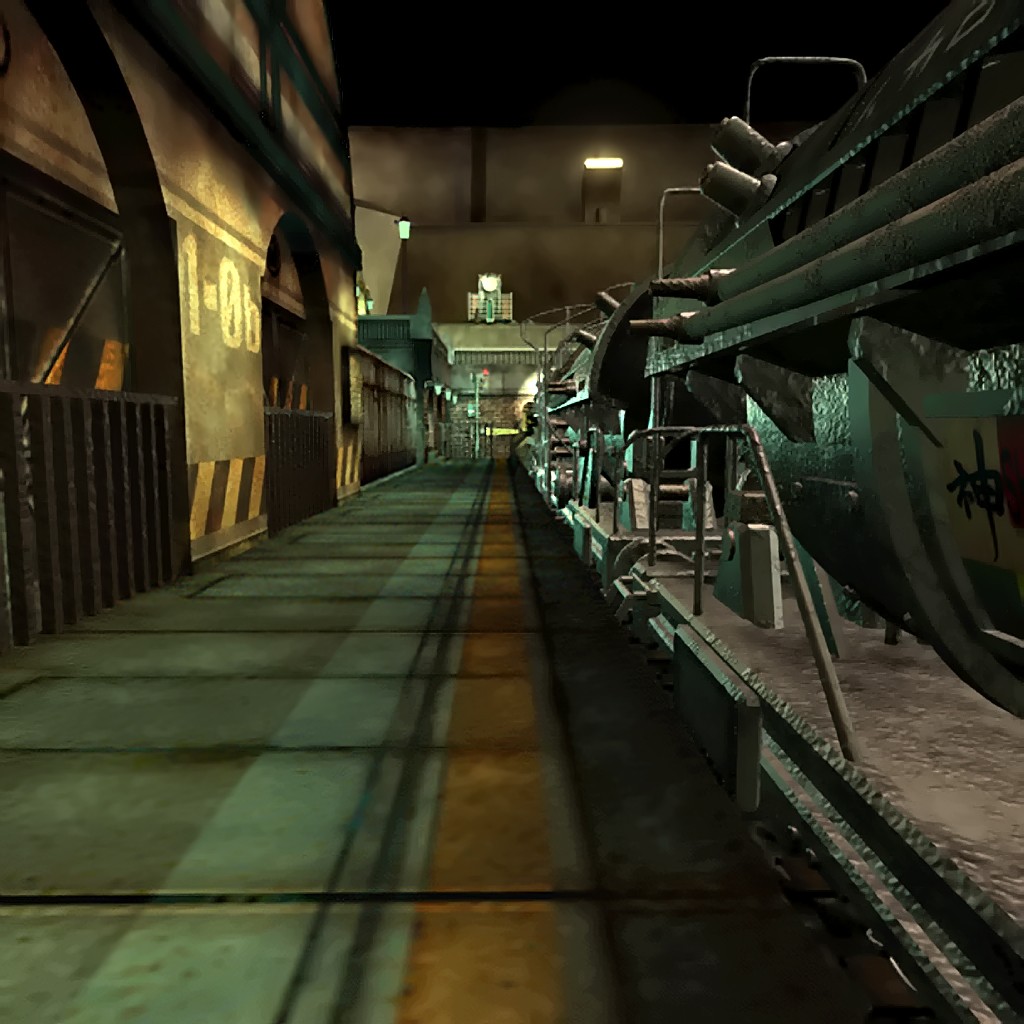
) , Honestly I was unable to do so, mainly because I could not figure out how to get some "see through" parts properly working. The name of this background is "blin1".