Show Posts

This section allows you to view all posts made by this member. Note that you can only see posts made in areas you currently have access to.


Messages - satsuki

Pages: 1 ... 25 26 27 28 29 [30] 31 32 33
726
Here's an esrgan opening from psx (low compression level for testing) : http://wowsatsuki.free.fr/opentest.mkv
As you can see when aerith appears it's more detailled than the steam version, but you'll see also that there's lots of temporal noise when midgar show up (as in le original psx one) witch needs to be heavily filtered.

727
i'll try again, just need to found my olds psx disc ^^

728
One other thing - may take a long time, but it's possible to extract each frame of fmvs from psx game to images and run this upscale on them. Though probably would need to be specific to video AI or inconsistent from frame to frame.  That would fix the FMV good also. Possible?
Alredy tried that but the psx's ones have too much temporal noise modulation so the video look "jumpy".
The best resul i got was to take the steam videos, downscale 4x (bicubic) then esrgan them, no more aliasing as in the steam original version, good stability and more details than the psx ones.

729
Seems like a manga109 esrgan tweaked... again someone ripped others works (found about 4 "AI upscale neurotal... uspcale" and all was a ripp of srgan or esrgan)
Here's my current method's results (use only ersgan + waifu for some prefilter).


Hard to tell witch is better, could you post full 4x uscaled and not smaller preview ?

730
After more tests, i'll use manga109 in some fields (i merge a manga109 upscale with some grain prefilter with a manga109 upscale without prefilter - 30%prefilter/70%standard).
If there's lots of rock or trees or vegetal forms le manga109 if better than my old method, but for any "human construction" my old method is better.
So let's gimp each picture to use both manga109 or my old method or a merge of both ^^

@Fraggoso :
Thanks for the manga109 model info, i haven't seen it before you tell me

731
As said first i make full picture (with black backgroud)
At the same time i generate a 4x inverted layer for each file (with the use of color FF00FF almost not used in ff7).
Then upscale.
Then merge the final resized picture with the 4x inverted layer.
Then delete FF00FF to get back the alpha channel
All that batched with the use of imagemagik (and potrace for the vectorisation part)

exemple:
base resized picture :


inverted 4x vectorized layer (white part is alpha channel):


merged:


delete FF00FF:


The hard part is to do a correct vectorised layer to get a smooth 4x layer and avoid missing part of the vectorised picture (for that i merge a vectorized and a scaled version of the 4x layer and it's avoiding most of bugs)

732
Added you in steam.
For this type of cutting you'll need to do it by hand, because (if it's like in ff7) the animated layer ins't only the animation but also some pixel around so no way to automate it to my mind

733
I found 3 Fraggoso on steam ^^'

Quote
I don't know if FFVII has sometimes objects on top of a Background layers?
If yes, do you know a way way of Filtering those properly?
I filter them with the entire scene so the output is better but cutting it manually is a pain in the Ass...

In FF7 each background use up to 5 layers for background itself and one layer for each step of each anymation.
The only way to do a proper upscale is to generate all full background of each animation step, then resize, then cut them back to layers.
I've automated most of the process with personnal vb6 software + imagemagick + potrace, but some background need manual tweaks, not so simple to do.

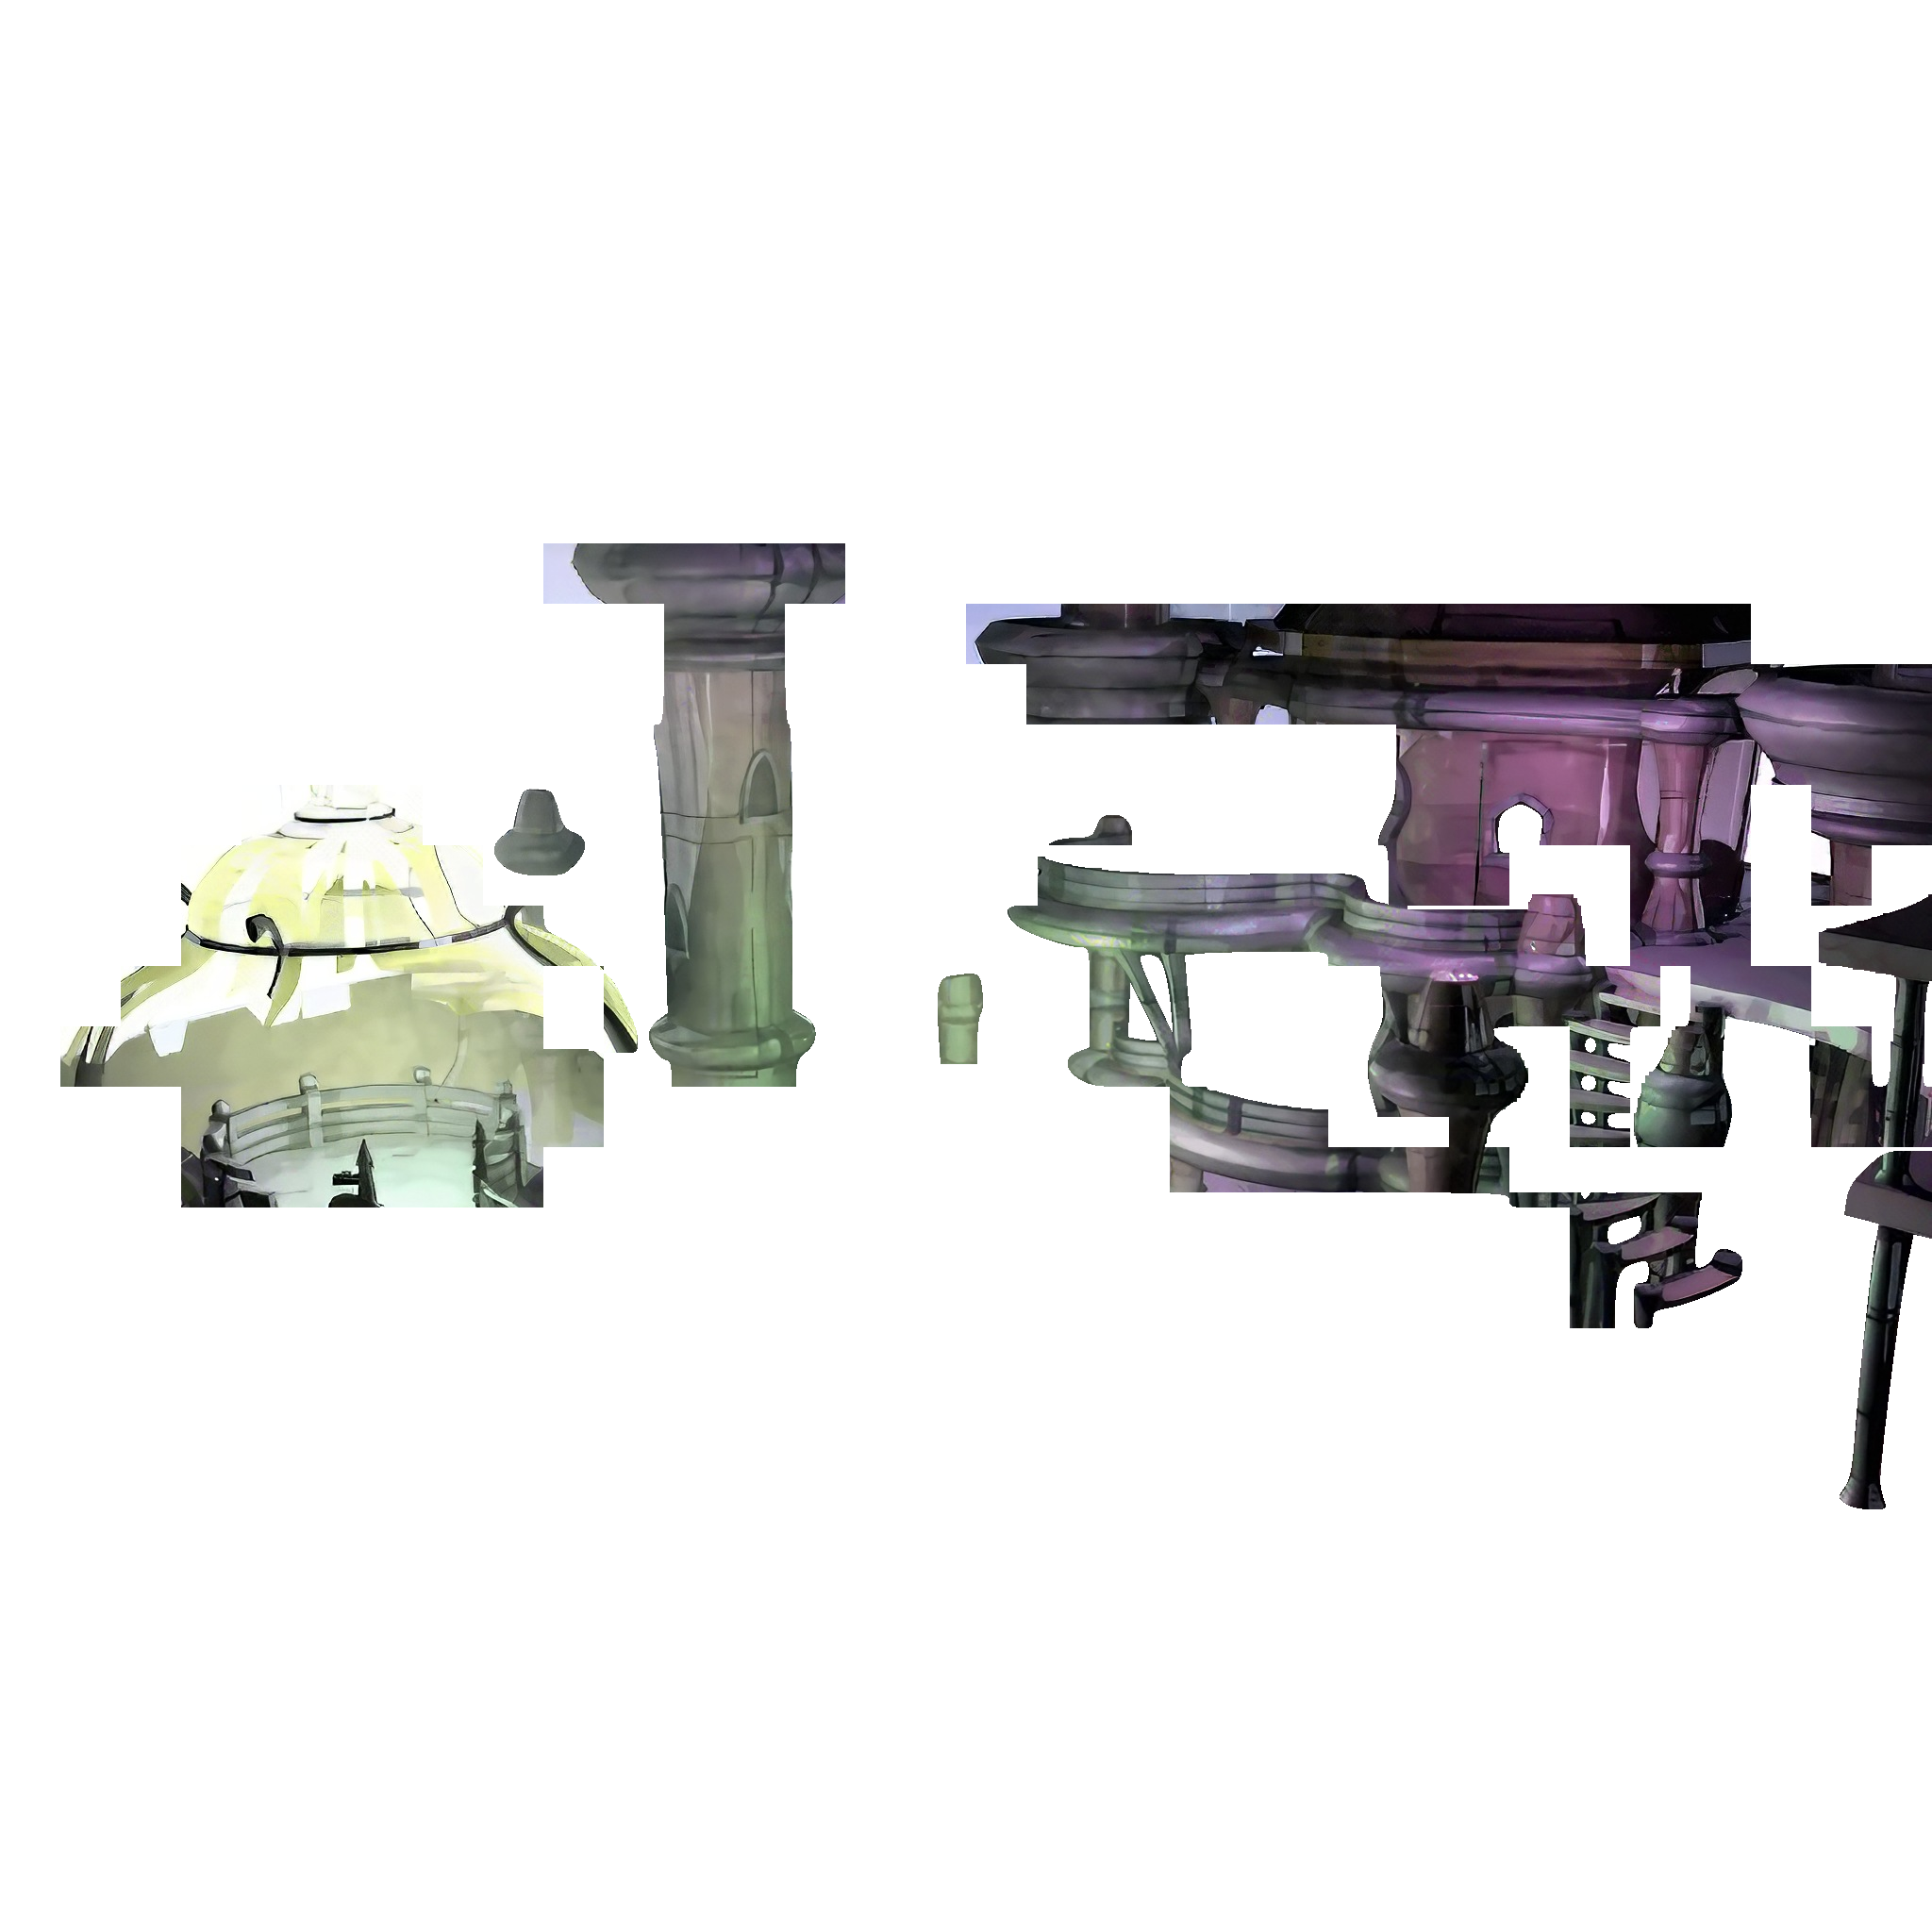
Here one exemple of the full layer pocessing :

The first step is to generate all the step of all layer to get base pictures, for this i used imagemagik "-layers merge" option with a custom VB software i made to generate the commands lines (one exemple to get one picture assembled):
Code: [Select]
cmd.exe /c start /B /wait /low " " "D:\Docs\Programation\VB\Sources\microbatclayersff7fields\imgk\convert.exe" -background none -layers merge +opaque black  "D:\Docs\Bureau\blin70_1_batch\blin70_1_0_00000128.png" "D:\Docs\Bureau\blin70_1_batch\blin70_1_0_00000129.png" "D:\Docs\Bureau\blin70_1_batch\blin70_1_0_00000130.png" "D:\Docs\Programation\VB\Sources\microbatclayersff7fields\provo\0.layersmix.1x.png"
Then i generate the 400% vectorized (to avoid strong aliasing and get smooth layers transition ingame) upscaled layers mask (to get the layers cuting and alpha channel after upscale) commands generated with a VB software and needs imagemagik and potrace, one exemple (from one layer to the 400% cutting layer):
Code: [Select]
cmd.exe /c start /B /wait /low " " "D:\Docs\Programation\VB\Sources\microbatclayersff7fields\imgk\convert.exe" -fill black -colorize 100%% -flatten "D:\Docs\Bureau\blin70_1_batch\blin70_1_0_00000128.png" "D:\Docs\Programation\VB\Sources\microbatclayersff7fields\provo\0blin70_1_0_00000128.png.bwavector.bmp"
cmd.exe /c start /B /wait /low " " "D:\Docs\Programation\VB\Sources\microbatclayersff7fields\potrace\potrace.exe" --turdsize 0 "D:\Docs\Programation\VB\Sources\microbatclayersff7fields\provo\0blin70_1_0_00000128.png.bwavector.bmp"
cmd.exe /c start /B /wait /low " " "D:\Docs\Programation\VB\Sources\microbatclayersff7fields\imgk\convert.exe" -density 288 -background #FF00FF -channel alpha -threshold 70%% -alpha remove -flatten "D:\Docs\Programation\VB\Sources\microbatclayersff7fields\provo\0blin70_1_0_00000128.png.bwavector.eps" "D:\Docs\Programation\VB\Sources\microbatclayersff7fields\provo\0blin70_1_0_00000128.png.vector4x.bmp"
cmd.exe /c start /B /wait /low " " "D:\Docs\Programation\VB\Sources\microbatclayersff7fields\imgk\convert.exe"  +transparent #000000 "D:\Docs\Programation\VB\Sources\microbatclayersff7fields\provo\0blin70_1_0_00000128.png.vector4x.bmp" "D:\Docs\Programation\VB\Sources\microbatclayersff7fields\provo\0blin70_1_0_00000128.png.vector4xblack.png"
cmd.exe /c start /B /wait /low " " "D:\Docs\Programation\VB\Sources\microbatclayersff7fields\imgk\convert.exe" -scale 400%% -background #FF00FF -alpha remove -alpha off -fill black +opaque #FF00FF "D:\Docs\Bureau\blin70_1_batch\blin70_1_0_00000128.png" "D:\Docs\Programation\VB\Sources\microbatclayersff7fields\provo\0blin70_1_0_00000128.png.raw4x.png"
cmd.exe /c start /B /wait /low " " "D:\Docs\Programation\VB\Sources\microbatclayersff7fields\imgk\convert.exe" +transparent #FF00FF "D:\Docs\Programation\VB\Sources\microbatclayersff7fields\provo\0blin70_1_0_00000128.png.raw4x.png" "D:\Docs\Programation\VB\Sources\microbatclayersff7fields\provo\0blin70_1_0_00000128.png.raw4x.coupe.png"
cmd.exe /c start /B /wait /low " " "D:\Docs\Programation\VB\Sources\microbatclayersff7fields\imgk\composite.exe" -gravity center "D:\Docs\Programation\VB\Sources\microbatclayersff7fields\provo\0blin70_1_0_00000128.png.raw4x.coupe.png" "D:\Docs\Programation\VB\Sources\microbatclayersff7fields\provo\0.layersmix.4x.png" "D:\Docs\Programation\VB\Sources\microbatclayersff7fields\provo\0blin70_1_0_00000128.png.raw4x.mix.png"
cmd.exe /c start /B /wait /low " " "D:\Docs\Programation\VB\Sources\microbatclayersff7fields\imgk\convert.exe" -alpha remove -alpha off +transparent black "D:\Docs\Programation\VB\Sources\microbatclayersff7fields\provo\0blin70_1_0_00000128.png.raw4x.mix.png" "D:\Docs\Programation\VB\Sources\microbatclayersff7fields\provo\0blin70_1_0_00000128.png.raw4x.back.mix.png"
cmd.exe /c start /B /wait /low " " "D:\Docs\Programation\VB\Sources\microbatclayersff7fields\imgk\composite.exe" -gravity center "D:\Docs\Programation\VB\Sources\microbatclayersff7fields\provo\0blin70_1_0_00000128.png.raw4x.back.mix.png" "D:\Docs\Programation\VB\Sources\microbatclayersff7fields\provo\0blin70_1_0_00000128.png.vector4xblack.png" "D:\Docs\Programation\VB\Sources\microbatclayersff7fields\provo\0blin70_1_0_00000128.png.fullblack.png"
cmd.exe /c start /B /wait /low " " "D:\Docs\Programation\VB\Sources\microbatclayersff7fields\imgk\convert.exe" -background #FF00FF -alpha remove -alpha off -transparent #000000 "D:\Docs\Programation\VB\Sources\microbatclayersff7fields\provo\0blin70_1_0_00000128.png.fullblack.png" "D:\Docs\Bureau\blin70_1_batch\blin70_1_0_00000128.pngcalquedecoupe.png"

Then i upscale

Last step is to get back the cutting and the alpha of layers from full pictures:
Code: [Select]
cmd.exe /c start /B /wait /low " " "D:\Docs\Programation\VB\Sources\microbatcutfieds\imgk\convert.exe" -define png:format=png32 -fuzz 01%% -fill #FE00FE -opaque #FF00FF "D:\Docs\Programation\VB\Sources\microbatcutfieds\work\Fields\sources4x\games_1_0_base_0000129.png" "D:\Docs\Programation\VB\Sources\microbatcutfieds\provo\games_1_0_00000128.4xnovi.png"
cmd.exe /c start /B /wait /low " " "D:\Docs\Programation\VB\Sources\microbatcutfieds\imgk\composite.exe" -gravity center "D:\Docs\Programation\VB\Sources\microbatcutfieds\work\Fields\layers4x\games_1_batch\games_1_0_00000128.pngcalquedecoupe.png" "D:\Docs\Programation\VB\Sources\microbatcutfieds\provo\games_1_0_00000128.4xnovi.png" "D:\Docs\Programation\VB\Sources\microbatcutfieds\provo\games_1_0_00000128.combi.png"
cmd.exe /c start /B /wait /low " " "D:\Docs\Programation\VB\Sources\microbatcutfieds\imgk\convert.exe" -define png:format=png32 "D:\Docs\Programation\VB\Sources\microbatcutfieds\provo\games_1_0_00000128.combi.png" -transparent #FF00FF "D:\Docs\Programation\VB\Sources\microbatcutfieds\work\Fields\final\games_1_batch\games_1_0_00000128.png"

not so simple to do ^^' took me lots of hours to get that but now i can do fast tests of upscales ingame because i have only to upscale then let my softs automate 99% of the process (http://forums.qhimm.com/index.php?topic=18500.0)

734
Can I make a suggestion? Couldn't you guys make two batches? One with full noise reduction and another batch with no noise reduction. What I have in mind is a manual merge of the two batches by the community. The merge wouldn't need any special skills only an eye for rough and smooth surfaces and a bit time. And if many do a bit of the work it would be done without to much stress and in a relative short time. I would like to do some images from time to time.
I already do that for my pack.
I use 2 filtering, one "max detail" one "high noise reduction".
Then i layer them in gimp, with the "max detail" over, and i brush delete the too noisy parts so the "high noise reduction" appear.

I've tested a lots with the manga109 model (with and without pre/post filters) and in almost all cases my actuel filters are better, but in the cases of sharp edges, the manga one is way better on edge (with the 70% manga / 30% ersgan interpolated).

So i now i'll do:
-layer max detail and high noise removal and keep the best of 2 then merge them (mostly done, i'm checking it ingame for some days for optimisations)
-layer the "best of 2 details / noise removal" with the manga one to remove the "bad rendering edge" then merge them (need to it from begining)
-final game test


@Fraggoso
I've done some tests with FFIX background and the 70% to 80% manga109 with light noise filtering (or none, both look good) seems to be the way to go, my method look un-natural and to washed
To my ming FFIX as better quality backgrounds than FFVII so a lighter filtering seems good.

735
Thanks for the information.
I've tried the manga109 model (Manga109Attempt.pth) and i don't know witch method i like more.
My actuel method is not only esrgan, i use waifu to prefilter noise then some gmic then ersgan 0.8.

here's my version :


then manga109 :


i tried to prefilter before or after manga109 but the final resul il alway grainy and less sharp than my method, but is also more "natural" as there is let artfacts.
i'm trying interpolation now to try to found a good value

if you want to talk about it, mp me your stema and we can talk ^^


736
Thanks.
Most of the field's works is done with this method, now i need to do the game again to bug hunting and tweaks ^^ (then i'll release an upscale pack)

737
To use this resize tool, just follow the instructions here : https://github.com/xinntao/ESRGAN
By the way i'm making now a new full upscale pack (video, battle, fields) with a more complex method and some manual tweaks (release maybe in 2 or 3 month):


738
Working on a new upscale pack (will take some time but will be way better than the waifu's one ^^) :


739
Team Avalanche / Re: Jusete“s field scenes
« on: 2018-12-01 11:36:26 »
(Small) donation done, thanks for your work

740
Good stuff!
Thanks, i'll optimise it while i'll make a new upscale pack to ff7 but it's realy usable right now (it's already does a better cut (in most casses) than my old waiffu pack i've done mostly by hand)

Whoa!  Excellent!  Any chance this can be done for FF8? It uses PuPu as an interface for field file splicing, etc. -- I'm sure Fated Courage and others would appreciate it!
Sadly to make this sort of auto layering take me looooots of time and i'm not realy into FF8 (i'm into a new upscale pack for ff7 now, probably letsenhence or esrgan or may be a mix of differents resize now that layering and cutting isn't to hard to do ^^)

741
This software needs to be updated to be able to process fields advanced animations (with FFNx).
It also need to be updated for processing of about 10 fields and make some manual correction automatic.
As i don't have the time to update it, here's the source code : http://yatoshicom.free.fr/4xcutV5.7z.

I'm not providing the exe because it MUST be fixed-updated to be able to provide a good result OOB for all fields (ATM 95% of the job is automated but the 5% remaining need to be tweaked, and a full ingame check too to be sure)

Feel free to use and share it without any restriction, but if you use it PLEASE do a full gamethrought for bug hunting and correction before doing any fields release, i don't wan't another "bugged never fixed" fields pack  :-\

Hello.
I've done an upscaled fields pack some times ago with waifu and know that the longuest parts is to do the layering assembly before upscale, to cut the files after upscaling, and to walk throug the game for bugs hunting (can realy be discouraging).
As some new upscale methods have shown (esrgan, letsenhence...) i've done a tool so anyone can do an upscale pack (for test, self preference, or release) easily.
I've assembled all fields animation in the lowest number of files to upscale (about 3500 full pictures).
I've generated smooth upscaled cuting layers with potrace and imagemagik.
And i've done the game from start to correct bugs (some optimisation can be done - mainly in the the lightingfiles - i'll optimise then if needed)

So to automate the process i've done a small tool (in vb6 + imagemagick + palmer) :


So it's simple
-Click on the  "open sources folder"
-Upscale 4x the files with your favorite softs
-Put the upscaled file in the source 4x folder (with the "open sources4x folder")
-Click on "4xCut fields"
-Wait (maybe realy long if lots of files)
-"Batch import" with palmer (auto launched)
-Wait (maybe long  if lots of files)
-Close palmer
-Wait (fast)
-A folder will open with the ready to use fields files

The soft auto correct the missing block after palmer import for las4_3 and las4_2 and auto delete some file witch make ingame bugs (datio_8, woa ...)
The soft don't process the 16 blacks screens and debug room of the game, so it's processing 685 of 703 fields.

The tool also provide REpalmer, a simple palmer batch ui to batch palmer the already 4xCutted fields.
It's autodetecting if a 4xcutted filed is present, then do the exact same processing of palmer that regular 4xCut (with auto delete bugued light fields, auto correct the "las" files...)


http://wowsatsuki.free.fr/Satsuki.4xCut.v2.6.exe

If you found bugs in fields (black lines of dots - background over the character) tell me and i'll correct the layers... or you can correct them yourself, all the layers for cutting are in the "\work\Fields\layers4x" folder of the software.
Before telling me bugs, please test the game without the modded files because some colision bug are not due to the cutting but to the driver (and i can don nothing about it)

If it can help you i could do the same soft for the battle files to.

742
Team Avalanche / Re: Upscale Pack
« on: 2018-10-20 12:26:29 »
The resize itself isn't bad, on some scenes it's great, but the transparency is bad.
On most fields the transparency is not cut out.
In FF7 only pure back is transparent, so all the 'almost black' pixel are shown.
Also FF7 don't use half-transparent pixels, they're shown as full opaque pixel.
The only way to realy have correct tranparency is to:
1)extract .tex from lpg
2)convert .tex to png
3)select transparency in png and fill it with full black (#000000)
4)uspscale
5)in upscaled pictures cut out the pixel witch need to be transparents

parts 3 and 5 can be automated with imagemagik and some scripting (or programming), i've done it this way when i upscaled the game textures with waifu

thanks for your works

743
You may want to try https://github.com/xinntao/ESRGAN
I'm trying it for some days and can produce great results :


ESRGAN with some gimp cleanup:


On some other scenes it's harder to found a good value :


By the way if you're interest in a great simplication of fields resize i'm doing a software that will automate most of the process
1)i've generated all layers of all animations in full picture (with mixing layer if possible to lower the total number of picture to resize), that's the "base" pictures
2)i've generated all cut mask in 4x resize (with a vectorisation tools and imagemagik) for all single picture (right now i'm testing ingame for bug hunting ^^)
3)i've make a software for cuting automation
So when all will be tested i'll relase it and all you need to do is resize all the "base" with your favorite tool, put them in the soft, and it will generate all the folders ready to import in palmer with palmer frontend

So far the whole software is done, i need to test ingame and correct cutting layers by hand if i found some bug in autocut.
i might release the software and a howto in one or 2 month.

744
Hello.
This tool is great but i can't find a way to use it with command line.
I'd like to extract each animation full frame of each field scene.

Any idea ?

Thanks a lot

745
Releases / Re: [FF7PC-98] Waifu release fulls packs
« on: 2017-01-07 06:02:51 »
It may be possible but i won't do it, it's a lots of works and i don't realy like FF8

746
Releases / Re: [FF7PC-98] Waifu release fulls packs
« on: 2017-01-06 17:33:51 »
It can be visualy loseless but transcoded too (I think about it because solid LZMA is the best compressor i know so far)
The only way to be 100% sure that the files aren't modified is to do a checksum (md5, sha-1....) of the original files then of the extracted files.
If the checksum is bad then the files have been altered.

747
Releases / Re: [FF7PC-98] Waifu release fulls packs
« on: 2017-01-06 08:18:00 »
...The satsuki textures are 3.3GB because of the IRO compression...

Witch compressor use IRO ?
I use 7-z LZMA solid archive with 128kb dic to have the smallest possible size but your compression is about 25% smaller.
are you doing some sort of color reduction or it is pure compression ?

Thanks

748
Releases / Re: [FF7PC-98/Steam] - True Necrosis Mod
« on: 2016-12-22 08:52:22 »
Any news of the fixed version nor translation impact ?
Thanks :)

749
Releases / Re: [FF7PC-98] Waifu release fulls packs
« on: 2016-12-22 08:20:08 »
I never tested it but it may be great, just delete the "menu" folder of my waifu pack to avoid conficts

750
Releases / Re: [FF7PC-98] Waifu release fulls packs
« on: 2016-12-21 19:45:38 »
@EQ2Alyza
There was lots of optimised field, i haven't listed all of them and as the old archive was down, i've made up a new full archive.

@Salk
The minigame have not been optimised so the Grimmy version's are ok
The only one left is the menu but you can use the avalanche one for exemple ^^

Pages: 1 ... 25 26 27 28 29 [30] 31 32 33