Ok everyone here is the tutorial you've all been waiting for. This won't be a technical support type thread so please don't ask me how do i do this or that.
[Squeeble's model conversion tuorial]
Program requirements: 3ds Max(I'm using 9),Kimera,Pc creator, phtoshop (or similar photo editing software),LGP tools and biturn. Also you may need irfanview its not a must but it is the program you will see me use for some things in this tutorial.
Prerequisites: A decent knowledge of max, and the FFX models set.
Step 1:Setting everything up
Ok start by creating a folder for all your FF7 mod files. Inside this folder create one folder called
battle archives and another called
adamantoise like so.
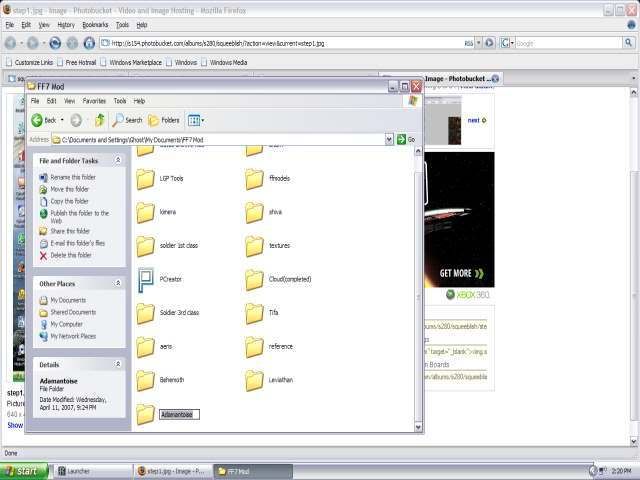
Now open LGP tools and open the battle LGP, and extract all files into the battle archives folder.
Now we need to locate the monster we'll be working on. Now for me this takes a while coz i have to manually search for the right files using leviathan and kimera. But for you today you just get the file names

. So go into the battle archives folder and copy the files from gqaa-gqda and paste them into our adamantoise folder.
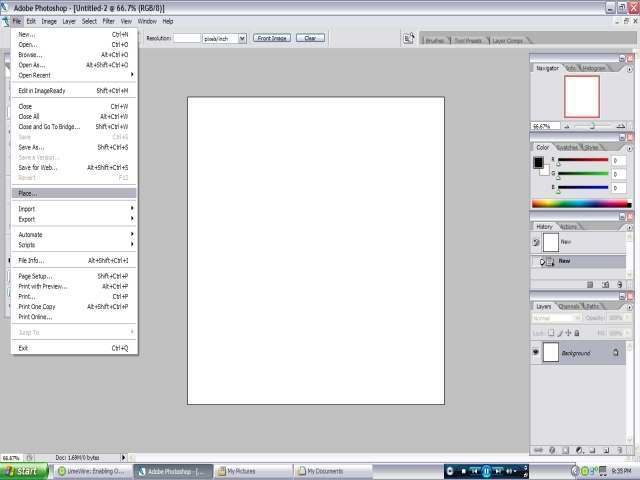
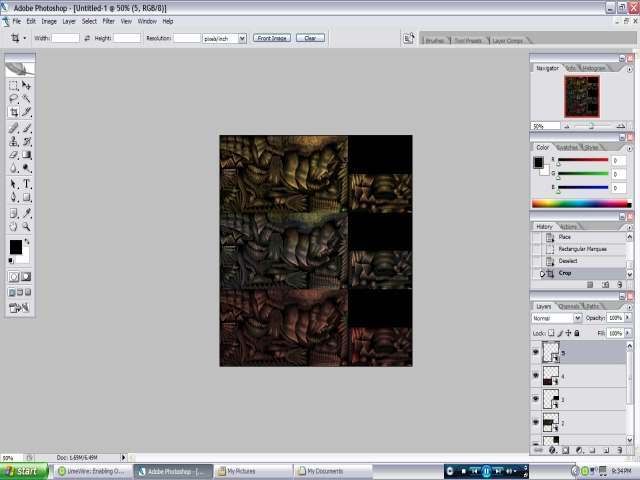
Next we want to fix the tuxture up so we dont have any problems later on. To do this we create a new image in photoshop, we want all the photos to fit squarely so make it 768x768. Then go file and place each of the files individually.
Until you get this.
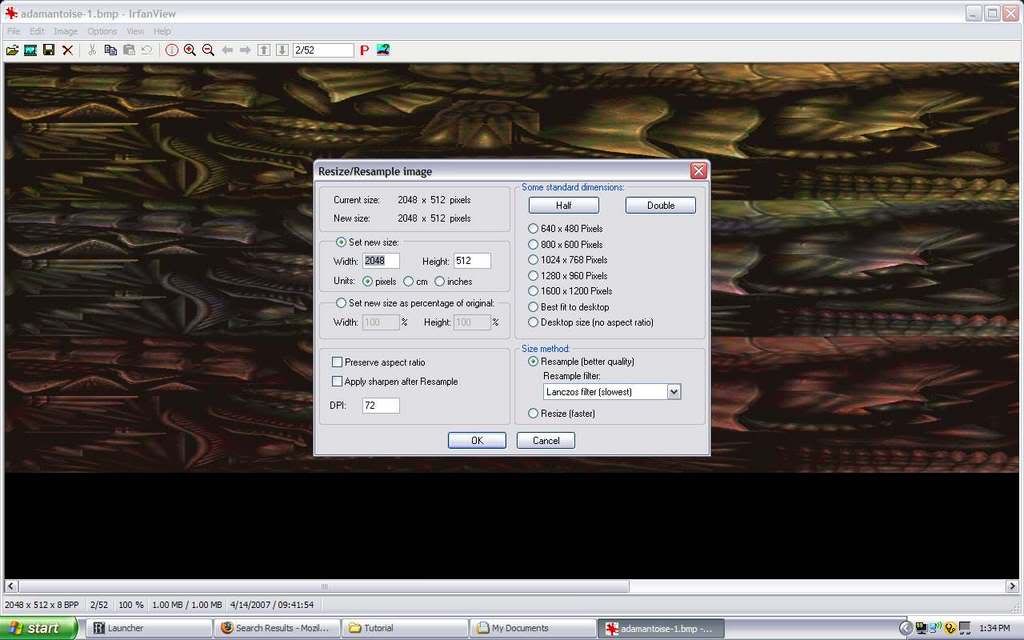
Now for this step i use irfranview for it's ease but you could definitely use photoshop. So boot up your program of choice and resize the texture to 2048x512 then decrease the colour scale to 8bit, and save as bitmap.
Now open biturn and go to the folder where we have our adamantoise files and convert the main file gqaa into a .3ds.
Yay things are now ready to get going.
Step 2:3ds Max
Now I'm not going to be telling people witch button to push to do what, so you will need to have a decent knowledge of the program to understand what im going on about.
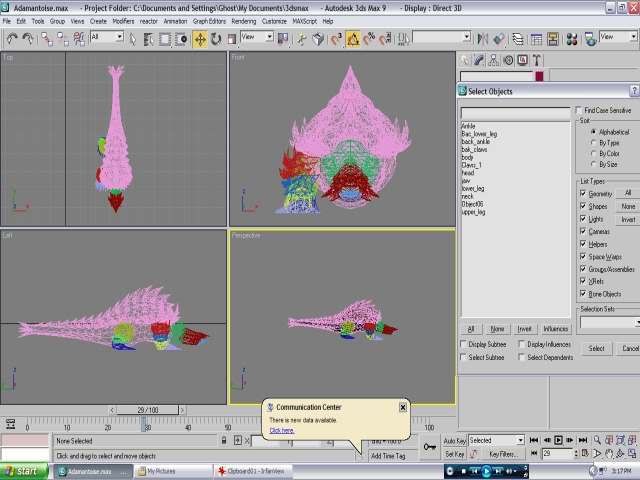
Now boot up max and import the original adamantoise witch we converted from biturn, then import the one from FFX and resize the new one so it fits as closely to the original as possible.
Big tip here: Always do the uv mapping first or you
WILL be crying later on. Trust me i found out the hard way.
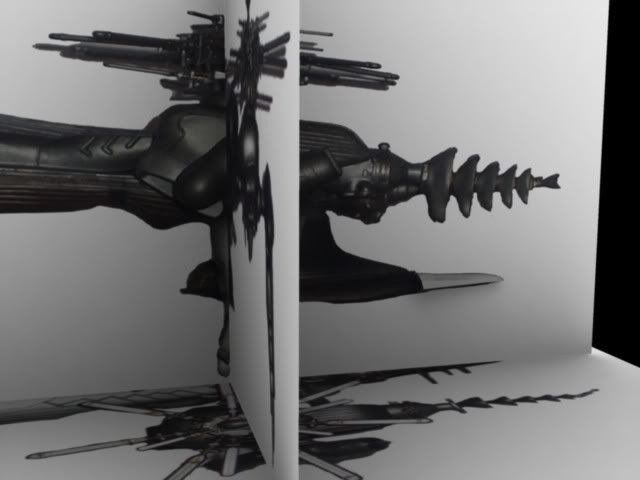
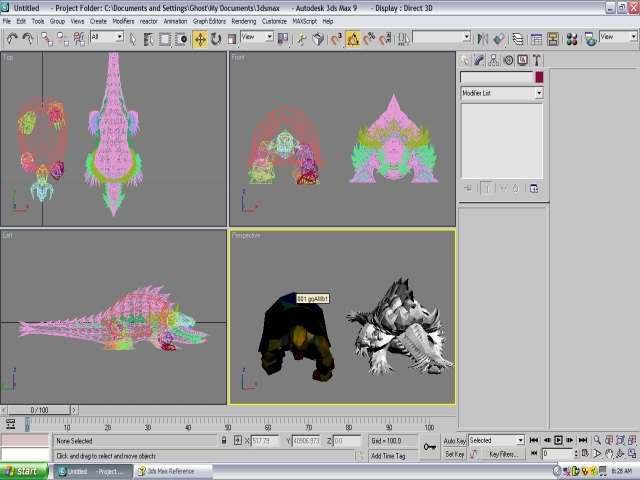
Now open up the material editor and make the diffuse map the bitmap witch we created earlier, and apply it to all parts of the model. Also apply a standard material to the other model to get rid of the horrible vertex shading, wich never looks right in max for some reason. Your scene should now look like this.
Now select everything in the scene and convert it to editable poly. Select a peice of our monster and go to the Unwrap UVW's in the modifier list.
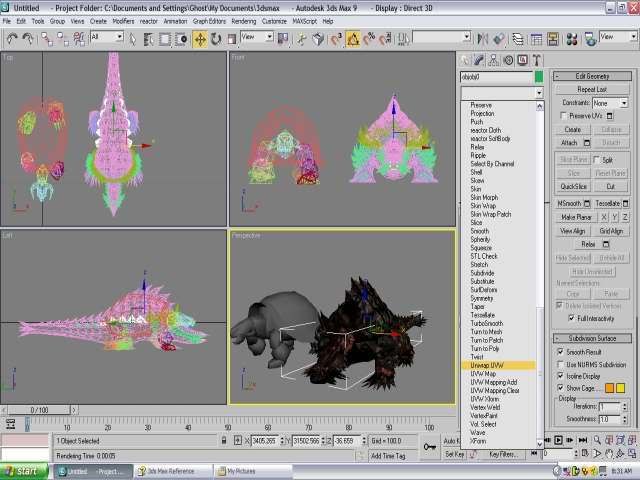
Choose select by face and press edit. When the edit screen comes up select everything you see on the screen.
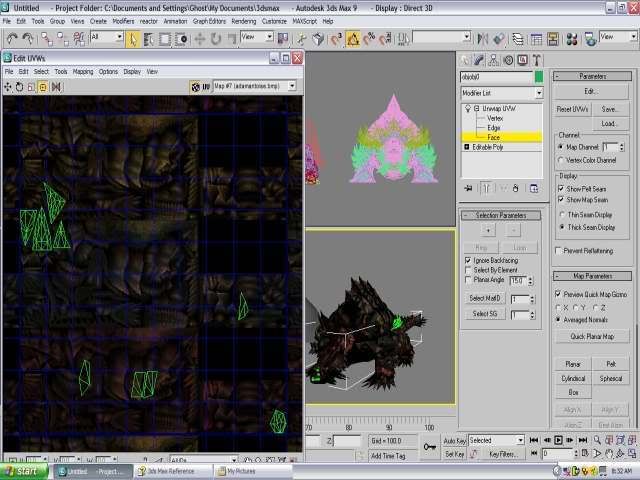
Now size then down to fit the correct texture like so. It doesnt matter if you dont have it on the right colour yet as that can be easily moved later.
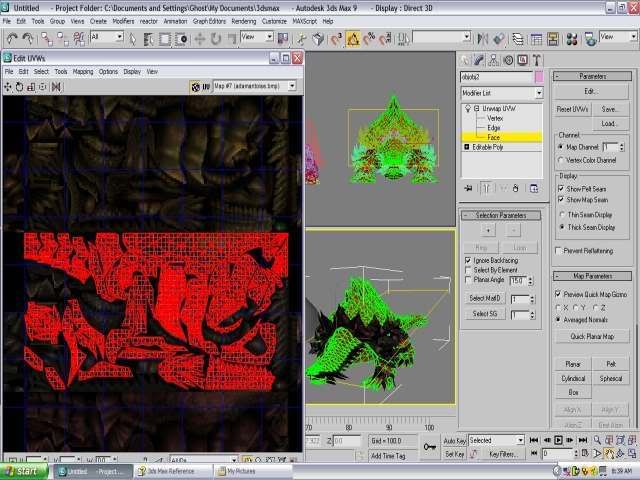
Now continue to do this until you have comleted fixing the UV's for all peices of the monster. Wich will take quite some time
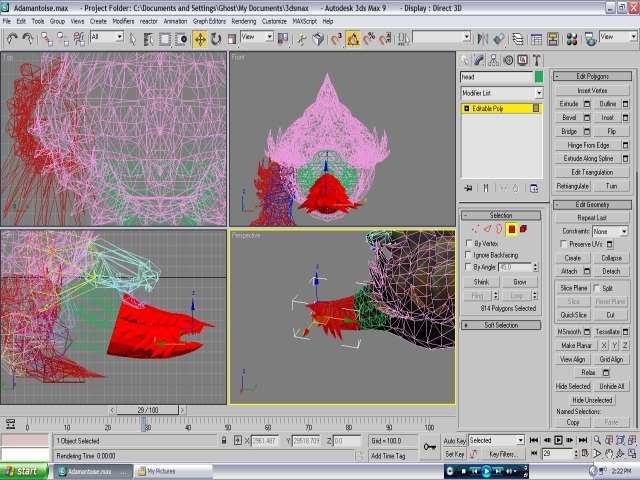
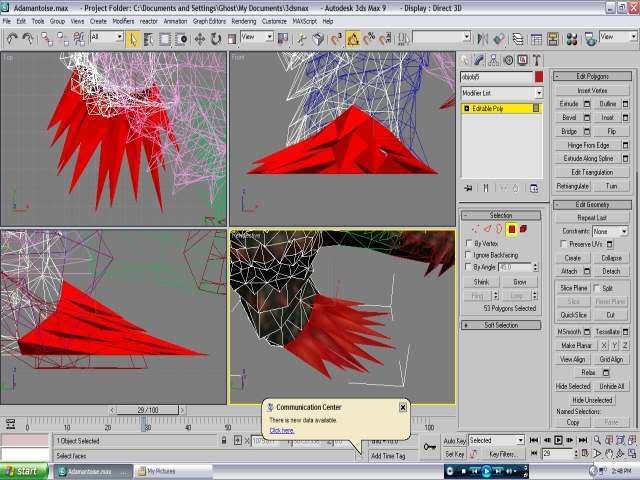
After you have completed that, select the main body and select all the polys of the head up yo the neck like this.
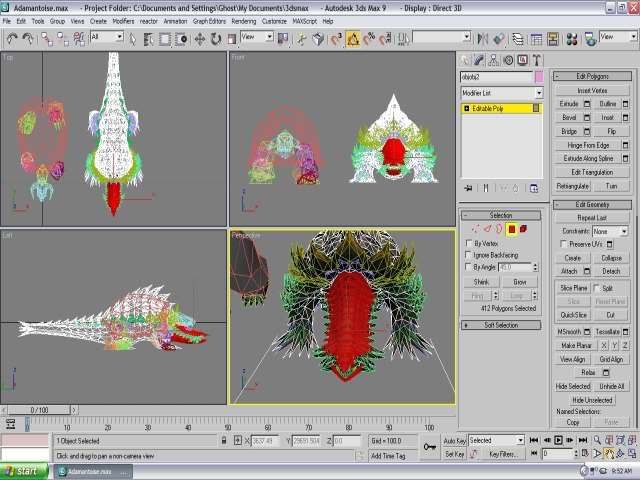
Now the normals problem isn't to bad on this model but to make things easier, selct each peice one at a time and delete one half of the polygons like so.
Select the peices that should be attached to the to the main body and attach them. Now hide unselected, you should just have a floating body now.
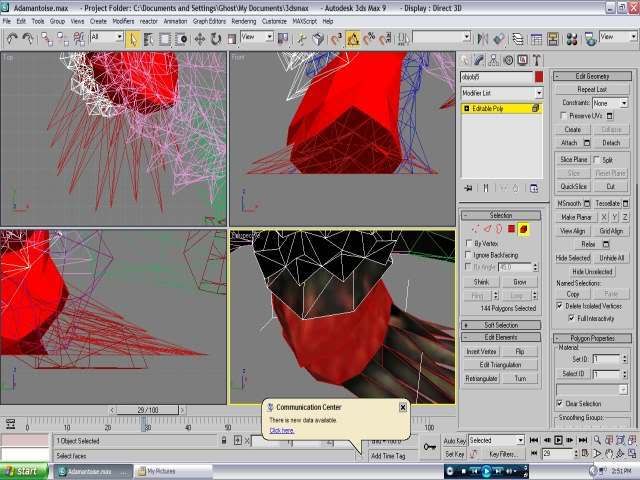
Now we want to plug those holes up in the side of the body. I'm not gonna tell you how to do this you need to know how to do this yourself.After you have done that its time to fix the normals. So using normals modifiers and flipping individual polygons you should be there for atleast an hour. Do a test render.

Convert all objects back into poly, now do another unwrap UVW's on the body andmove the uv's of the hole we just patched to the black area.Convert it back into poly once more, now go to mirror and copy.
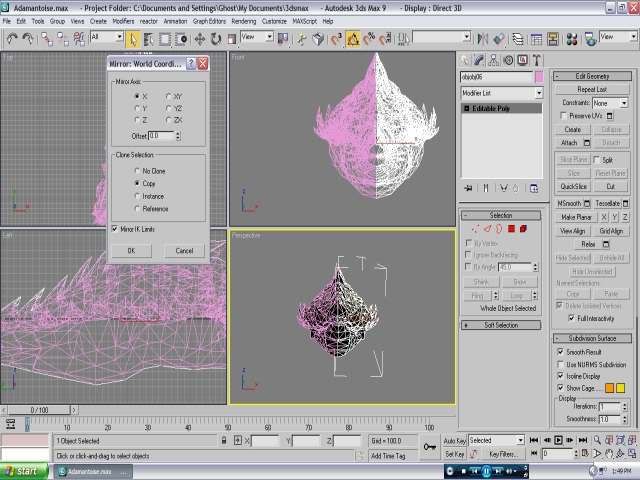
Select the vertices down the middle of the body and weld them together.
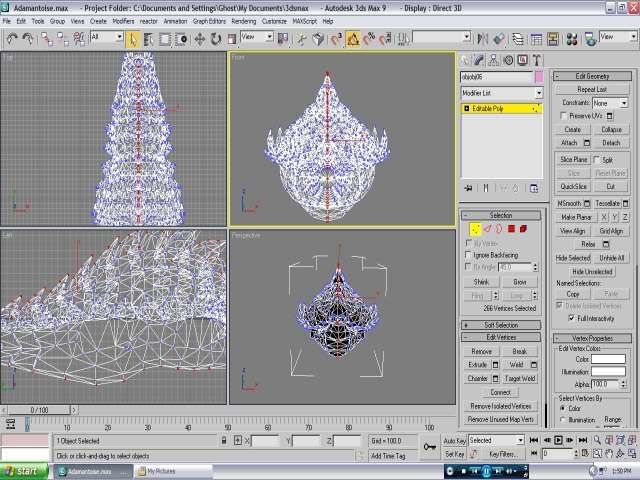
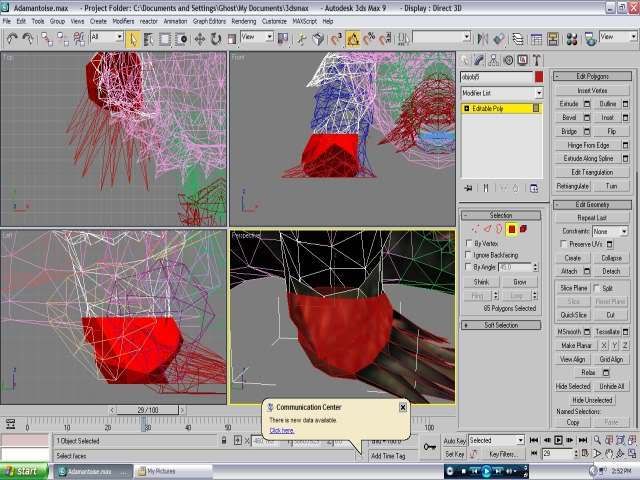
Unhide all and attach what should be attached to the head just like we did with the body. Also fix the hole in the neck on the body. Now back to the head proceed to fix normals just like we did with the body before mirroring it aswell and welding the vertices.plug the hole in the back of its neck and dont forget to make cuts along the way.Don't confuse cutting with slicing big difference.
Now select the head and make a quickslice about halfway down the head. Select half of the polys from where we made our quickslice and detach the object.
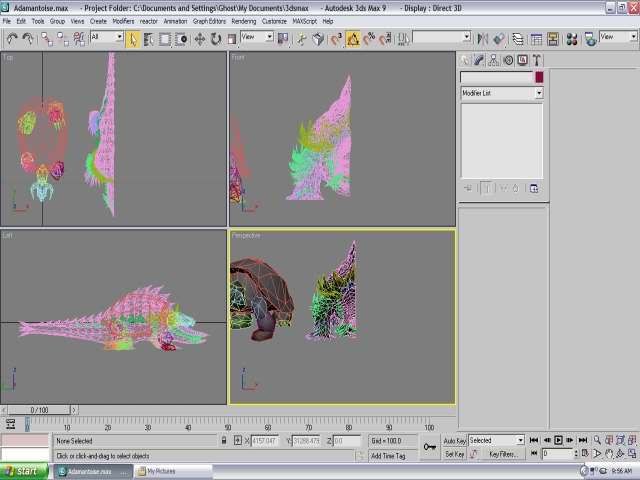
Now having a look at our other model we use as reference to see roughly were we need to slice.
so start by selecting the claws and detaching them, no slicing needed.
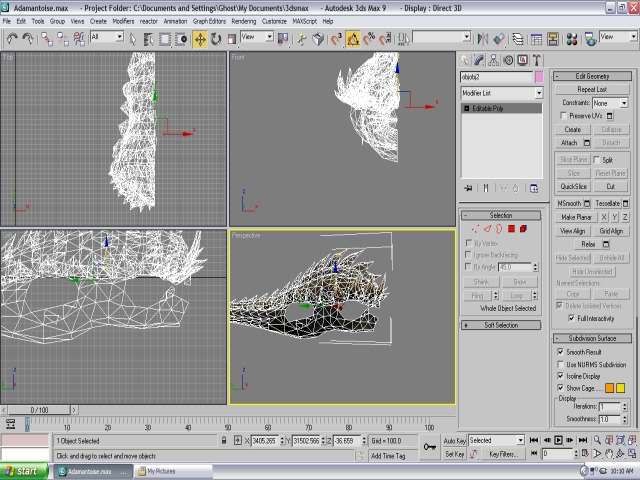
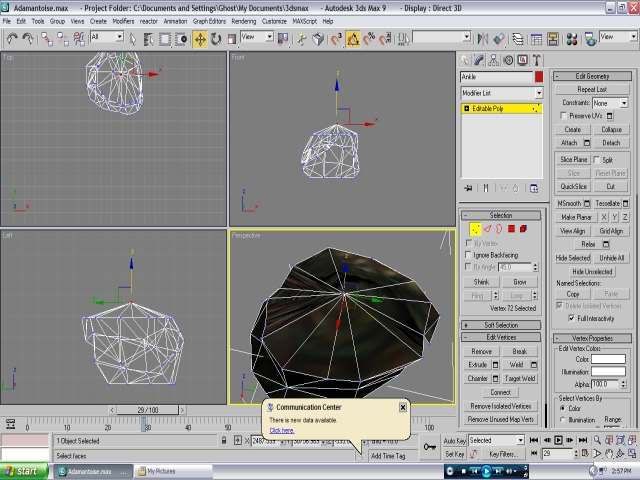
Oh yes don't forget to name everything as you go along or it may be confusing. Now we cant see the ankle to well so select the polys that are obstructing view and hide them.
Now make a quickslice roughly where the ankle would be and detach it.
Now proceed to do so with the rest of the front and back leg. After doing so we need to plug the holes in
ALL of the peices, I hope you named them accordingly

. On the peices make cuts that all come to one point so we can drag it up slightly, this will decrease some of the gap.
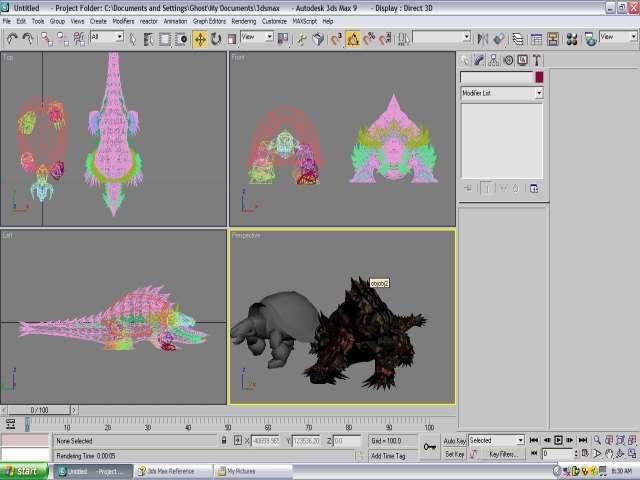
Now i leave you to do all that. Now when your finished it should look something like this. You should also have something close to the coresponding names, if you can make them out XD.
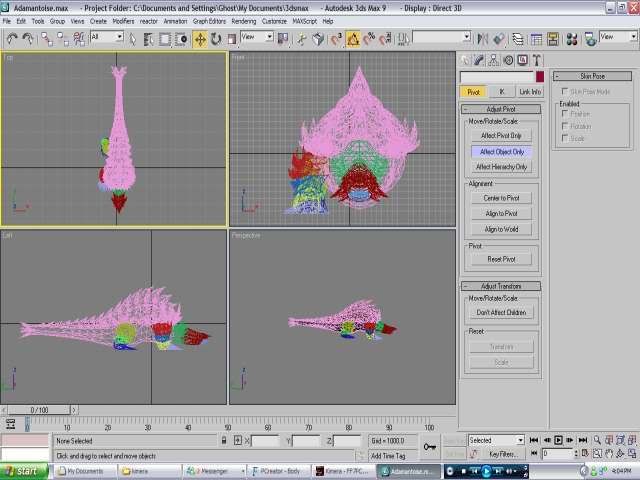
Delete the other models a we dont need it anymore and select all of the monster and drag him as close to the centre of the world as possible.
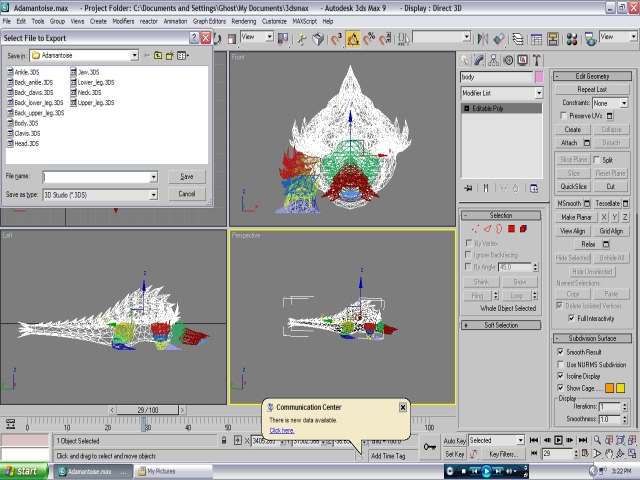
Now create a folder inside the export folder called adamantoise and select a piece and go file and export selected and name them accordingly.
You have now completed the 3ds Max part of the tutorial congratulations
.
Step 3:Converting for game use
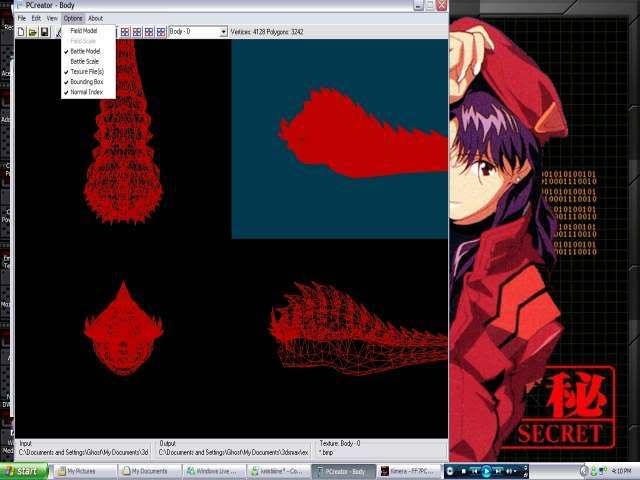
Start by booting up Pc creator and oppening the body.Select it and make it smaller so you can see it on screen.
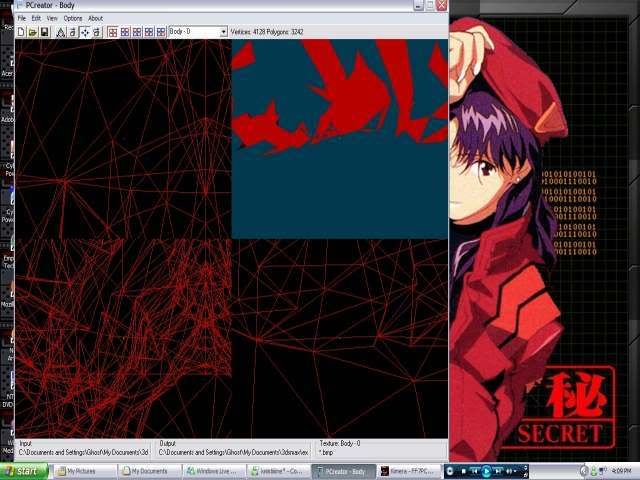
Now go to options and set it to battle model set the battle size to what you want and also tick texture file(s).
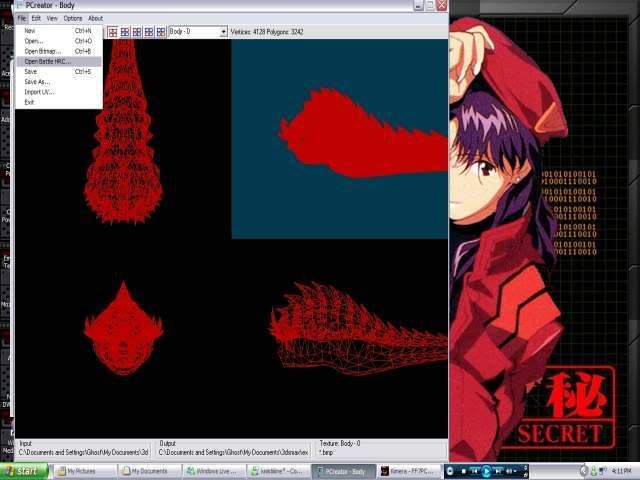
Go file and battle HRC and go to your folder with the the FF7 files and open gqaa, set the number of battle textures to anything over 1 in this case as we are only using one texture.
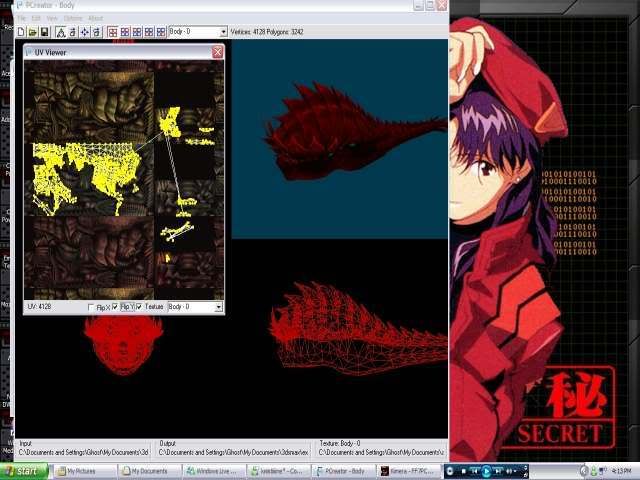
All your textures will be screwed up now , so go to view uvmap and flip the uv's on the y axis.
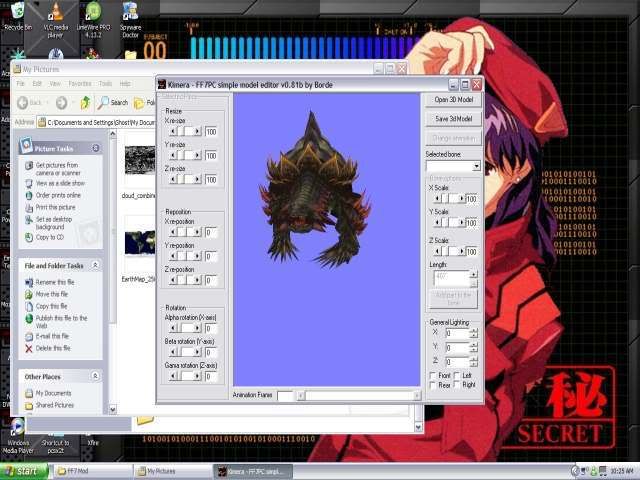
Now save it then go back to file and go save as. Make your way to the directory with the game files we will be swapping out and save it over gqam. now repeat this operation for all other files. To find out witch peice goes where you can either use biturn or kimera by clicking on the peice to open the .p editor and in the top left corner of the editor you will see the file name, so you know wich peice to save over witch file.
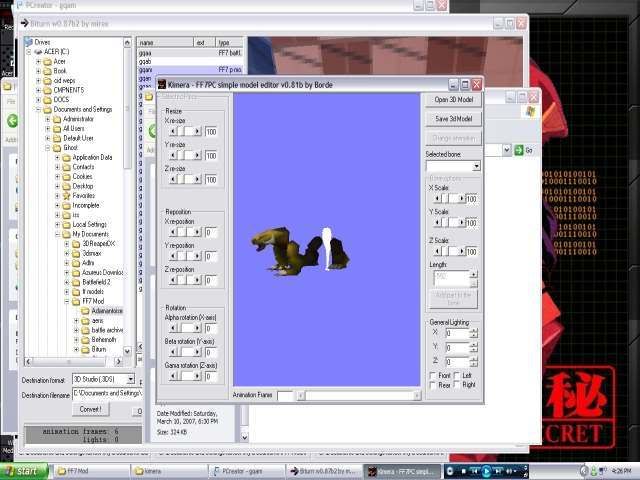
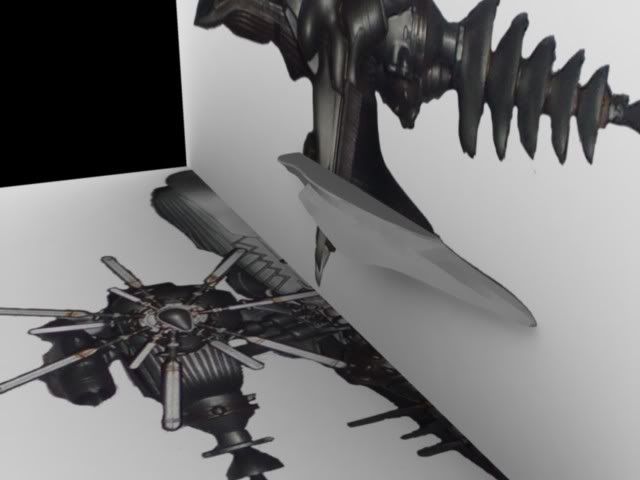
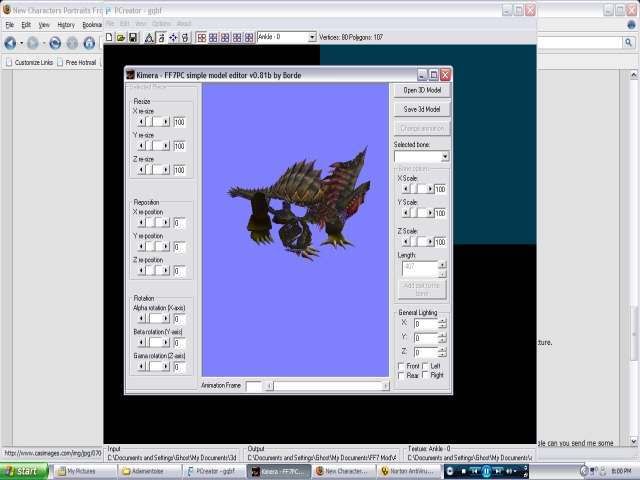
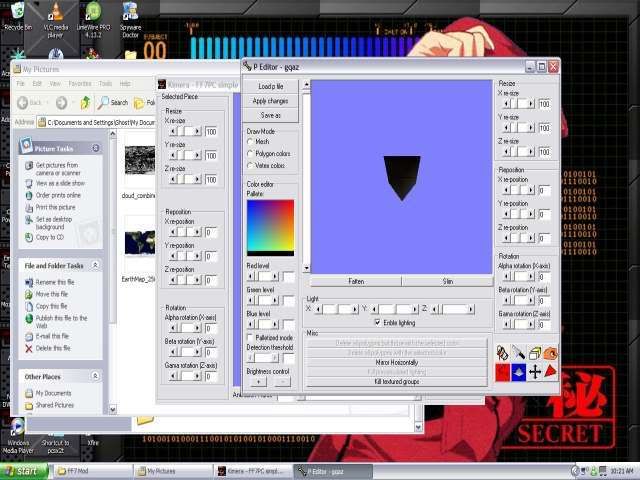
now grab your texture file wich will be saved in the same directory as the original .bmp under the extension .tex. copy this into the adamantoise folder and change its name to gqac. Open kimera and you should have something that looks like this now.
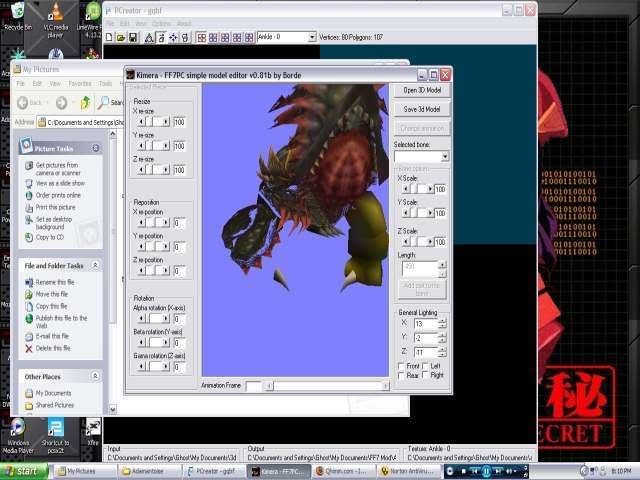
As for the front claws you can see they're in four different pieces. choose one to add your claw over and for the rest open them in the .p editor, and reduce the size of the piece on axis to 0 and save it, don't apply changes or kimera may crash. So dont forget to save every now and then to prevent data loss. Your fron leg should look something like this.
Once you have all your pieces together start moving pieces around and resizing them to fit. I started with the head.
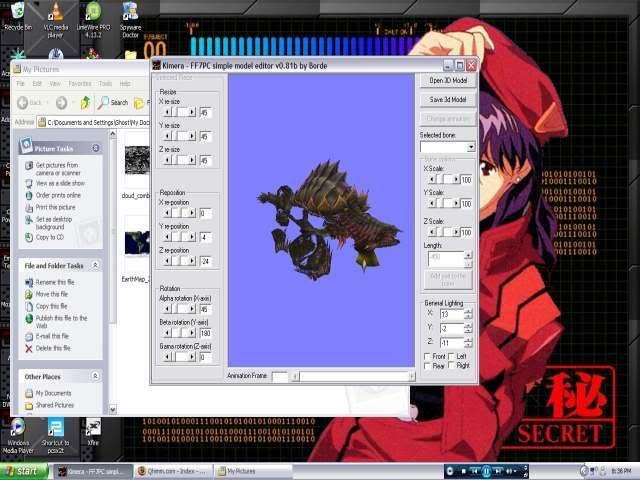
After moving everything around for a few more hours i got this.
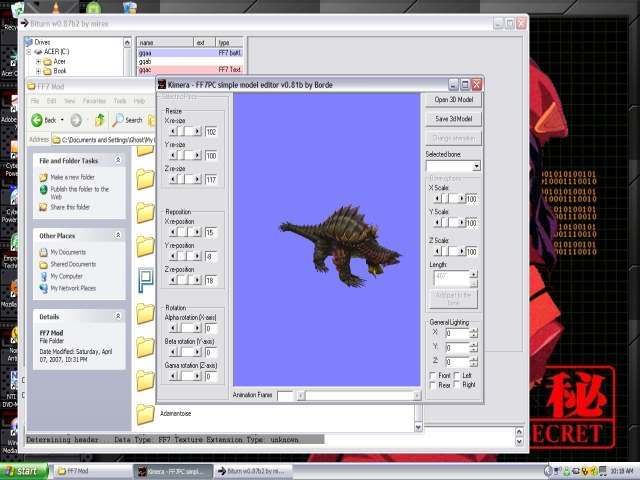
Now your probably wondering why i didn't do the other legs, easy solved by say clicking on the opposite claws finding out there file name, then going back to the other claws and flipping them horizontally and and saving them over the name of the other claw. Make sure you save them as battle model files or else it wont work.
After screwing around with the other side for a while the legs looked like this.
I know they dont look the best but they can be fixed later. Just save and close kimera.
Step 4:Compiling and playing
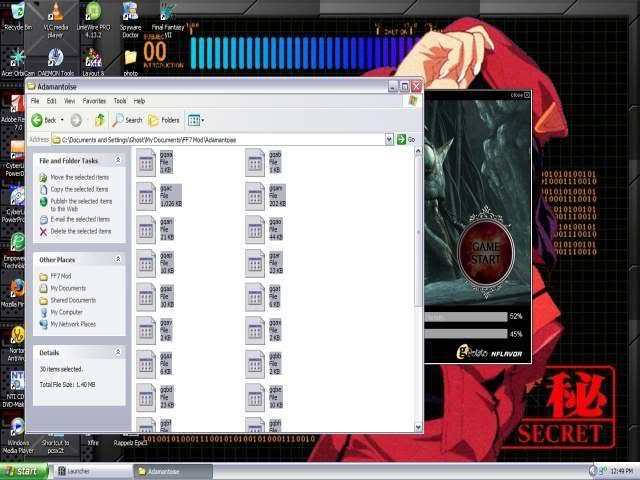
Last part nice and easy. Go to the adamantoise folder se;ect all files and copy them into the battle archives folder.
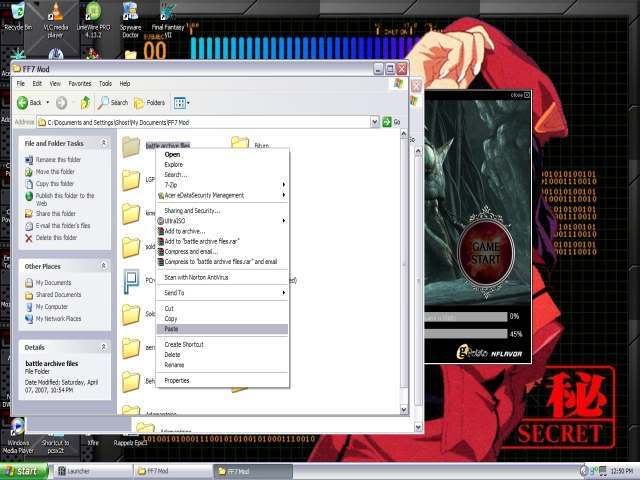
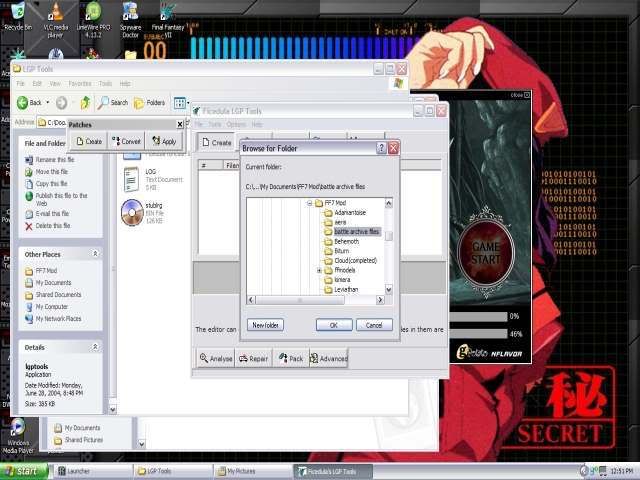
Bot up LGP Tools and go create, and select the battle archives folder and save the LGP file over your old battle one, Providing you already have it backed up.

Now just boot her up and and shes ready.

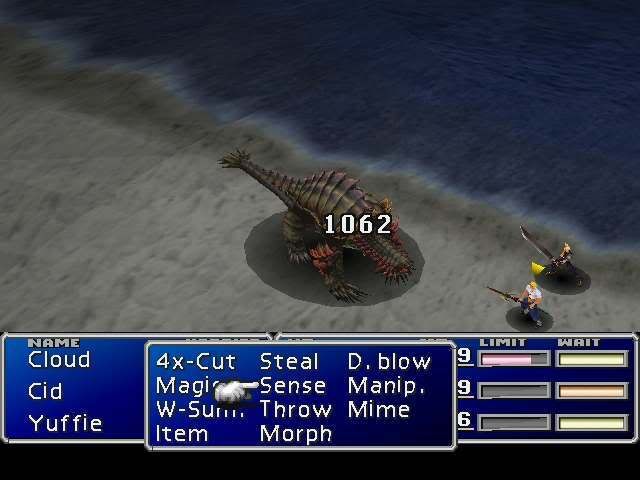
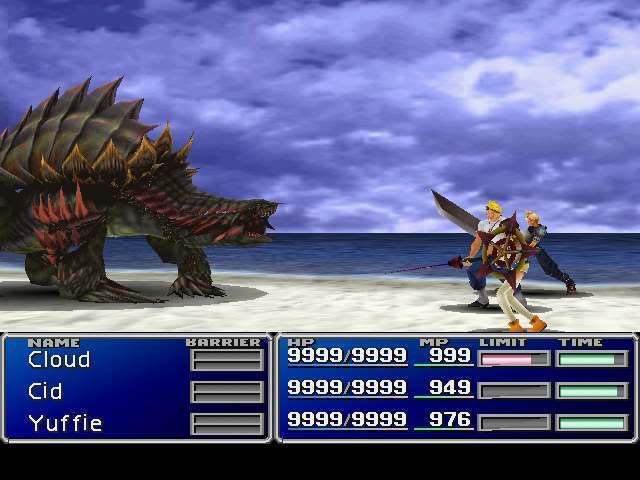
I know it didn't turn out properly but thats easy fixed later on.
So there you have it a start to finish guide on converting models into FF7, you can apply this knowledge to almost any other model aswell.
Big thanks to borde Reunion and yaz0r for there lovely programs. I don't know how many of you will still want to do this after seeing how much of a hassle it is but maybe you will appreciate my work more

. Brain hurts sleep now. Give feedback.


 ). All whilst moving out of home managing relationships and being at work 10-14 hours a day has left me little time to start any projects.
 I won
I won